Introduction
If you are dealing with no water pressure in house, the problem might not be with your pipes or the city supply — it could be your pressure reducing valve (PRV). This small but vital device controls the water pressure entering your home. When it fails, your water flow may become weak, uneven, or completely stop.
Here are 15 useful tips to help you replace your pressure reducing valve easily, handle new challenges, and restore full pressure throughout your home.
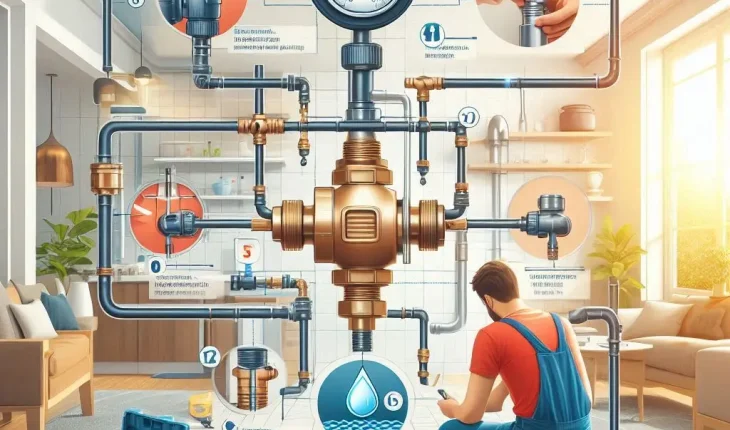
1. Understand What a Pressure Reducing Valve Does
A PRV keeps your home’s water pressure balanced, preventing damage to pipes and appliances. When it malfunctions, no water pressure in house becomes a common issue.
2. Check for Signs of a Faulty PRV
Low flow, whistling sounds, or water hammer are early signs of a bad valve. If pressure fluctuates between faucets, it’s time for a replacement.
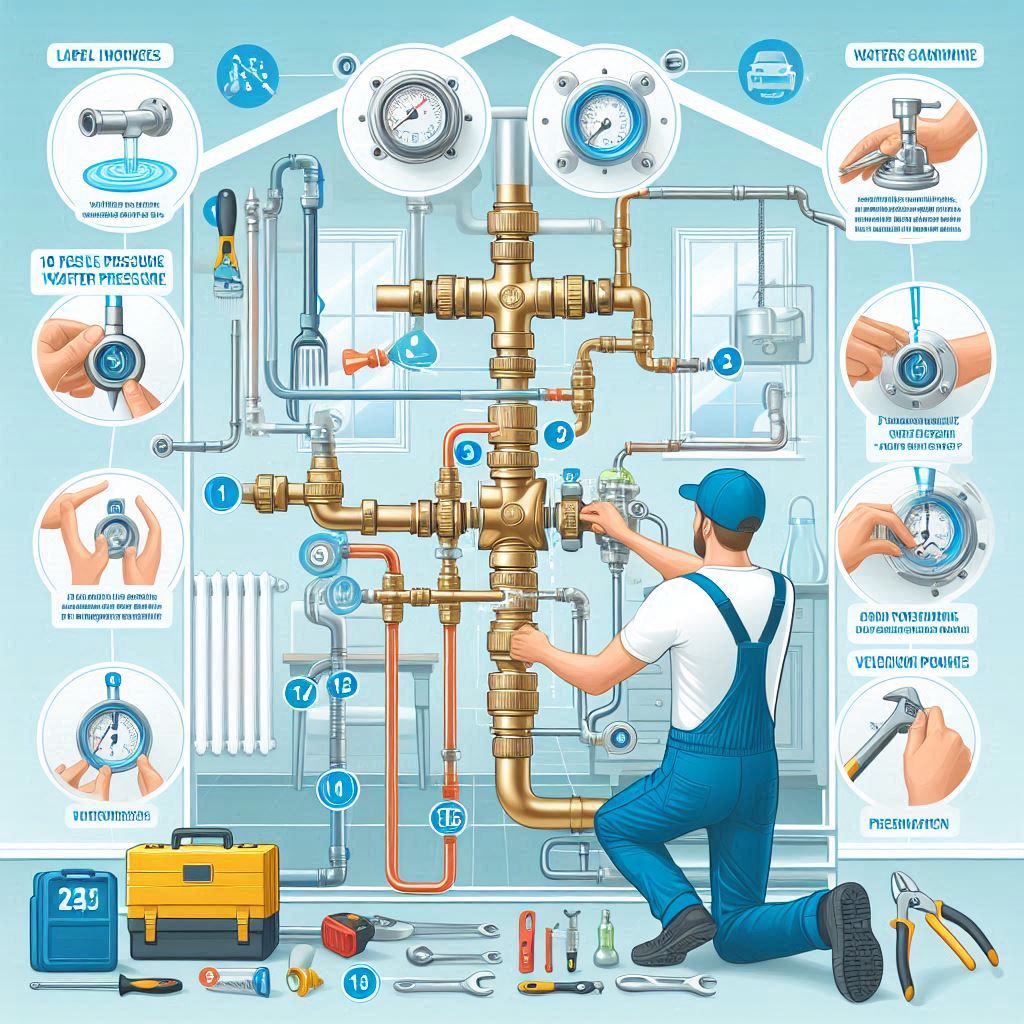
3. Locate the Valve Before Replacing It
Your PRV is usually found near the main water line or meter. Knowing its exact location saves time and avoids cutting unnecessary pipe sections.
4. Turn Off the Main Water Supply
Always shut off your home’s main valve before removing the PRV. This prevents water spillage and keeps the workspace safe.
5. Drain Remaining Water from Pipes
Open the lowest faucet in the house to drain excess water. This makes PRV replacement cleaner and easier.
6. Choose the Right Replacement Valve
Use a PRV that matches your pipe size and pressure needs. Modern adjustable valves let you fine-tune water pressure across your home.
7. Use Teflon Tape for Leak Protection
When connecting the new valve, wrap Teflon tape around threads to ensure a watertight seal and prevent future drips.
8. Tighten the Fittings Evenly
Uneven tightening can cause leaks or valve misalignment. Use two adjustable wrenches — one to hold and one to turn — for stability.
9. Clean Pipe Ends Before Installation
Remove any rust or buildup from pipe ends before installing the new valve. This ensures proper sealing and better water flow.
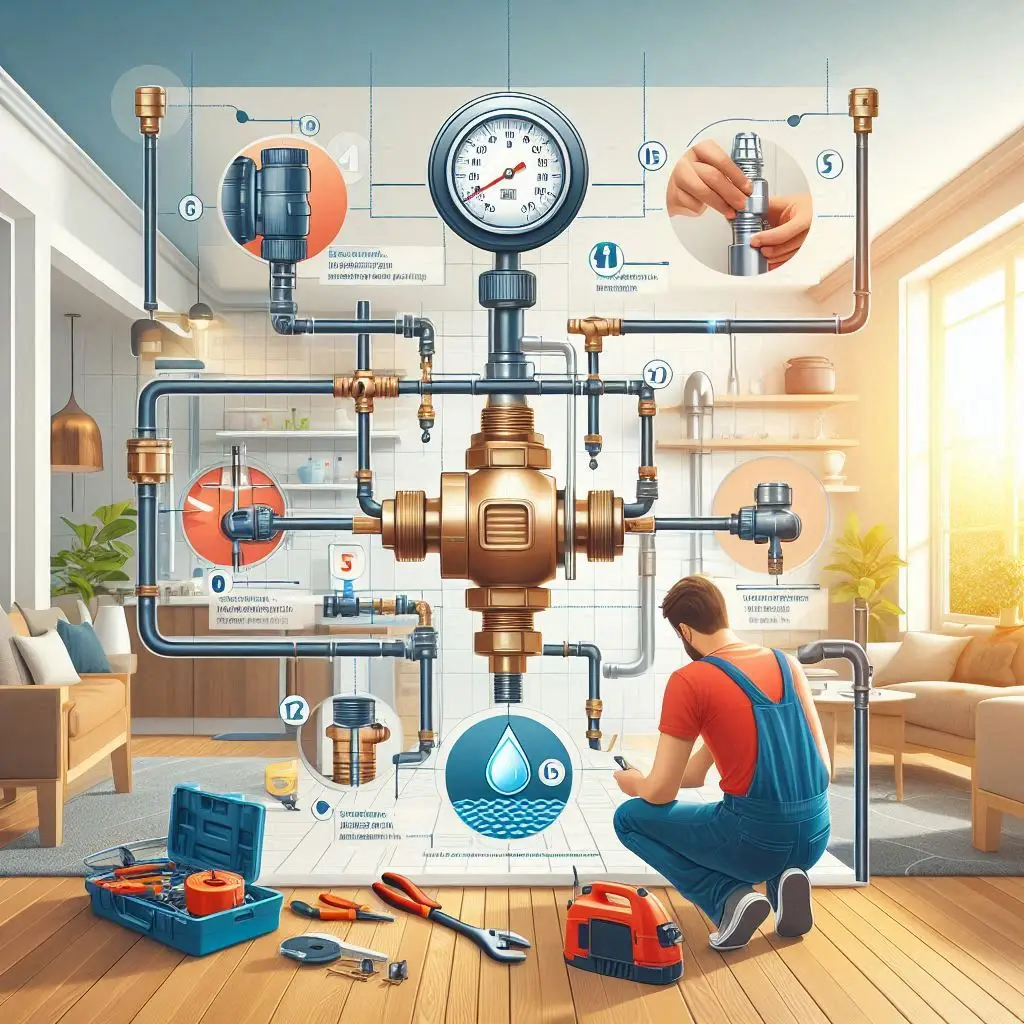
10. Adjust the Pressure Setting Properly
After installation, adjust the screw or knob on top of the PRV to set pressure (usually between 50–70 psi). This step often solves no water pressure in house issues instantly.
11. Test All Faucets After Replacement
Turn on faucets on both floors to ensure balanced pressure. If the upstairs flow is still low, airlocks or partial clogs may remain.
12. Flush the Plumbing System
Run all taps for 5–10 minutes to clear air bubbles and debris left during installation. This helps stabilize water flow quickly.
13. Check for Minor Leaks After Installation
Inspect joints and connections for moisture or dripping. Tighten gently if needed — overtightening can crack fittings.
14. Schedule a Pressure Test Once a Year
Even a new PRV can lose accuracy over time. A yearly test ensures your water pressure remains balanced and prevents future problems.
15. Combine PRV Replacement with Regular Maintenance
Cleaning filters, checking aerators, and inspecting pipes regularly will keep your plumbing system efficient and prevent repeated no water pressure in house complaints.
“I replaced my pressure reducing valve, but there’s still no water pressure in some taps — does that mean the valve was not the issue?”
Not necessarily. If your new PRV is working but some faucets still have low pressure, you might have sediment buildup, clogged aerators, or airlocks in the system. Flush the lines, clean aerators, and check for partially closed valves. The PRV fix restores balance, but old plumbing may still need cleaning for complete results.
Replacing a pressure reducing valve at home is one of the most effective ways to fix no water pressure in house permanently. With these 15 tips, you can diagnose, replace, and maintain your valve safely — even without expert help. Regular inspections and small preventive steps will ensure strong, steady water flow and peace of mind for years ahead.